
DIY Bookcases from Standard Cabinets
Title: How to Create DIY Bookcases Using Standard Cabinets
Introduction:
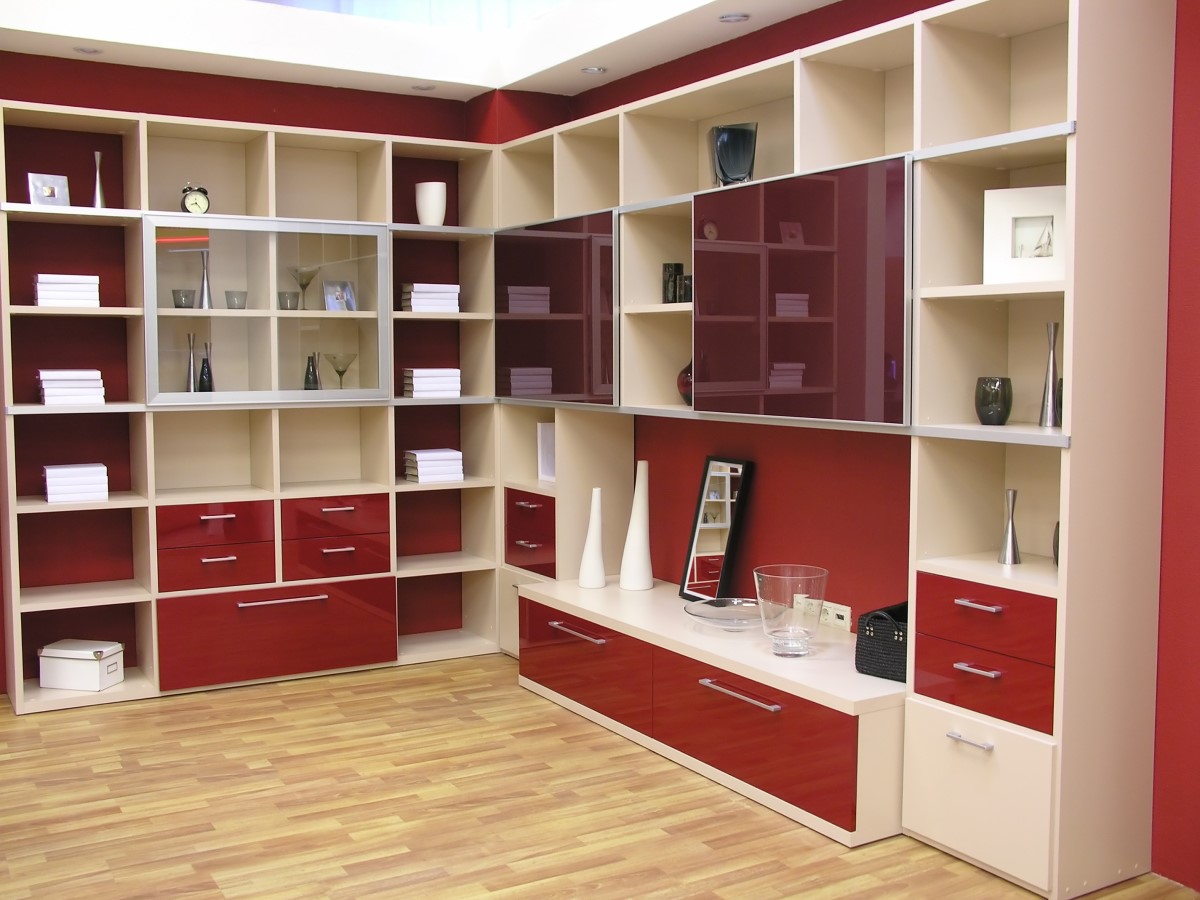
Bookcases are not just functional pieces of furniture; they can also add character and style to any room. If you’re a book lover or simply enjoy displaying your cherished items, creating your own bookcases can be a rewarding and cost-effective solution. In this blog post, we’ll explore how to transform standard cabinets into unique and stylish DIY bookcases. With a little creativity and some basic tools, you can create customized book storage that suits your taste and space requirements.
Step 1: Choose the Right Cabinets
To start your DIY bookcase project, you’ll need to select the right base cabinets. These can be standard kitchen or bathroom cabinets available at most home improvement stores. Consider the height, width, and depth of the cabinets to ensure they fit your desired space. Keep in mind that taller cabinets will provide more storage, while shorter ones can be used as side tables or accent pieces.
Step 2: Gather the Necessary Tools and Materials
Before diving into the project, gather the tools and materials you’ll need. This typically includes a drill, screws, screwdriver, measuring tape, level, paint or stain (optional), and a saw (if you plan to modify the cabinets). Additionally, you may want to have sandpaper, wood filler, and a paintbrush on hand to refine the finish.
Step 3: Remove Cabinet Doors and Hardware
To transform the cabinets into bookcases, start by removing any cabinet doors, hinges, and knobs. This step will provide an open shelving design and make it easier to customize the cabinets to suit your needs.
Step 4: Customize the Shelves
If you prefer adjustable shelves, measure and mark the desired positions inside the cabinets. Use a drill and appropriate-sized drill bit to create holes for shelf support pins. This will allow you to modify the shelf height as needed to accommodate different-sized books or decorative items.
Step 5: Modify the Cabinets (Optional)
If you want to add your own personal touch to the cabinets, consider modifying them. You could create decorative cutouts on the cabinet sides or back panel using a jigsaw, giving the bookcase a unique look. Alternatively, you can add trim or molding to the front edges of the cabinets for an extra touch of elegance.
Step 6: Sand and Finish
Before proceeding with the finishing touches, sand the cabinets to ensure a smooth surface. Pay attention to any rough edges or imperfections. Once sanded, wipe away any dust and apply the desired finish. You can choose to paint the cabinets in a color that complements your room’s decor or stain them to highlight the natural beauty of the wood.
Step 7: Assemble the Bookcases
Now that your cabinets are modified and finished, it’s time to assemble your DIY bookcases. Place the cabinets in your desired location, ensuring they are level and securely fastened to the wall to prevent tipping. If you’re combining multiple cabinets, use screws to attach them together for added stability.
Step 8: Decorate and Organize
Finally, it’s time to bring your bookcases to life by arranging your books, photo frames, and decorative items. Play with different layouts to create an appealing visual display. You can also incorporate baskets or storage boxes to keep smaller items organized.
Conclusion:
Creating DIY bookcases using standard cabinets is a fun and creative way to add functional and personalized storage to your home. By following these steps and customizing your bookcases to your liking, you can transform ordinary cabinets into unique pieces that reflect your style. Whether you’re an avid reader or someone who loves displaying cherished possessions, these DIY bookcases will not only provide storage but also become eye-catching elements in any room. So, grab your tools and let your imagination guide you as you


Leave A Comment