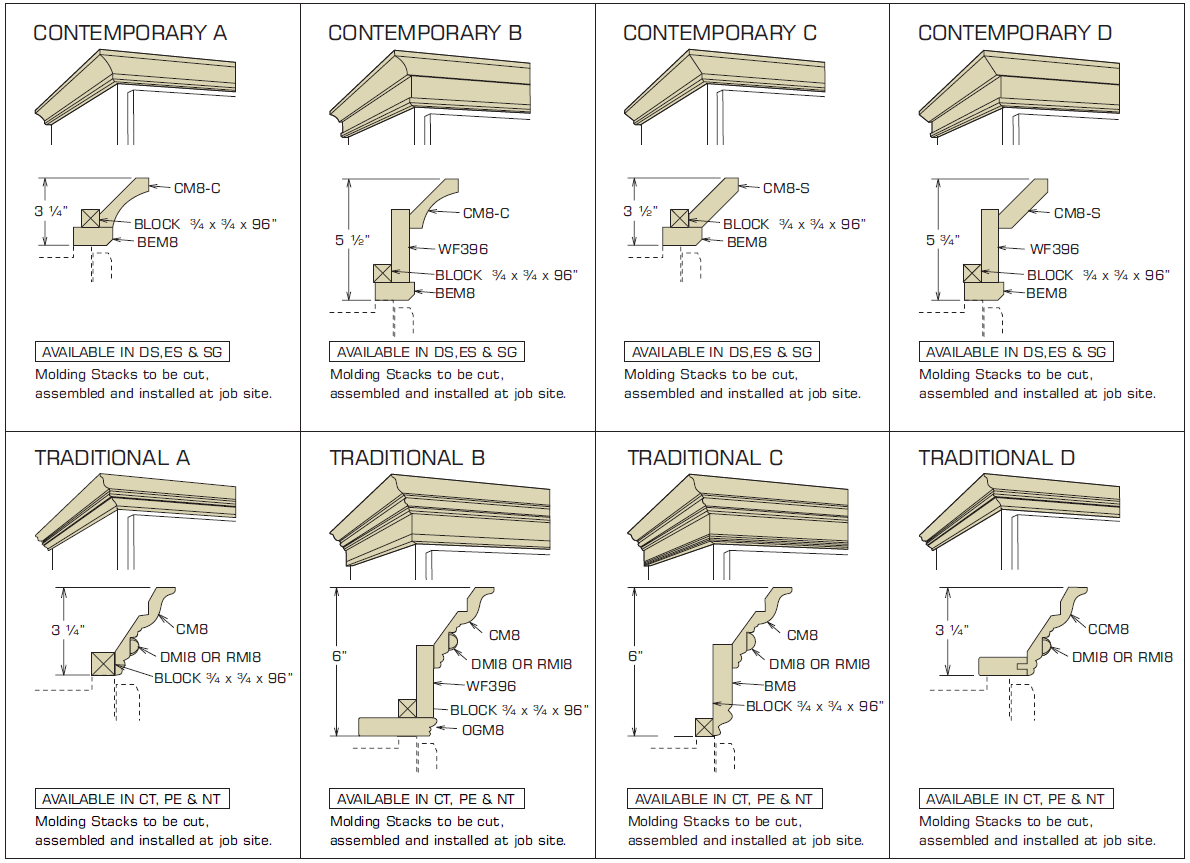
Installing Crown Molding
Installing crown molding on kitchen cabinets is a great way to add a touch of elegance and sophistication to your kitchen. Here are the general steps to follow:
- Gather materials: You will need crown molding, a saw, a nail gun, a level, wood glue, and finishing nails.
- Measure and cut the crown molding: Measure the length of the cabinet run where the crown molding will be installed. Cut the crown molding to the length needed, using a saw. Be sure to cut the ends at a 45-degree angle, with the angle pointing outward.
- Install the crown molding: Apply a small amount of wood glue to the back of the crown molding, and then attach it to the top of the cabinet, using a nail gun. Use finishing nails to secure the molding to the cabinet, placing them about 6-8 inches apart. Be sure to nail into the cabinet frame, not just the cabinet front.
- Continue with the rest of the molding: Cut and install the next piece of molding, ensuring that the 45-degree angle matches the previous piece. Use wood glue and a nail gun to attach it to the cabinet, making sure it is level and flush with the previous piece.
- Repeat until all molding is installed: Continue installing the crown molding piece by piece until you have covered the entire length of the cabinet run.
- Fill in nail holes and sand: Once the crown molding is installed, use wood filler to fill in any nail holes. Let the filler dry completely, then sand it smooth.
- Paint or stain the molding: Paint or stain the crown molding to match the rest of the cabinets and let it dry completely.
That’s it! With these steps, you should now have successfully installed crown molding on your kitchen cabinets.


