
Accurate measurements are the foundation of every successful kitchen remodel. Whether you plan to select your own cabinets online at wholesale RTA prices or work with a professional kitchen designer, taking 30 minutes to measure your room properly prevents costly ordering mistakes, missing fillers, and appliance clearance headaches.
All you need is a tape measure, paper, and a pencil. Follow the 8 steps below—and download our free printable worksheet so nothing gets missed.
Free Printable Measuring Resources
Print our 4-page worksheet before you start, and check out a completed real-world example to see exactly what your finished sketches should look like:
Quick Video Tutorial: How to Measure Your Kitchen
Prefer to watch first? This quick walkthrough shows how to capture wall lengths, openings, ceiling height, and utilities:
Step 1: Measure Every Wall (In Inches Only!)
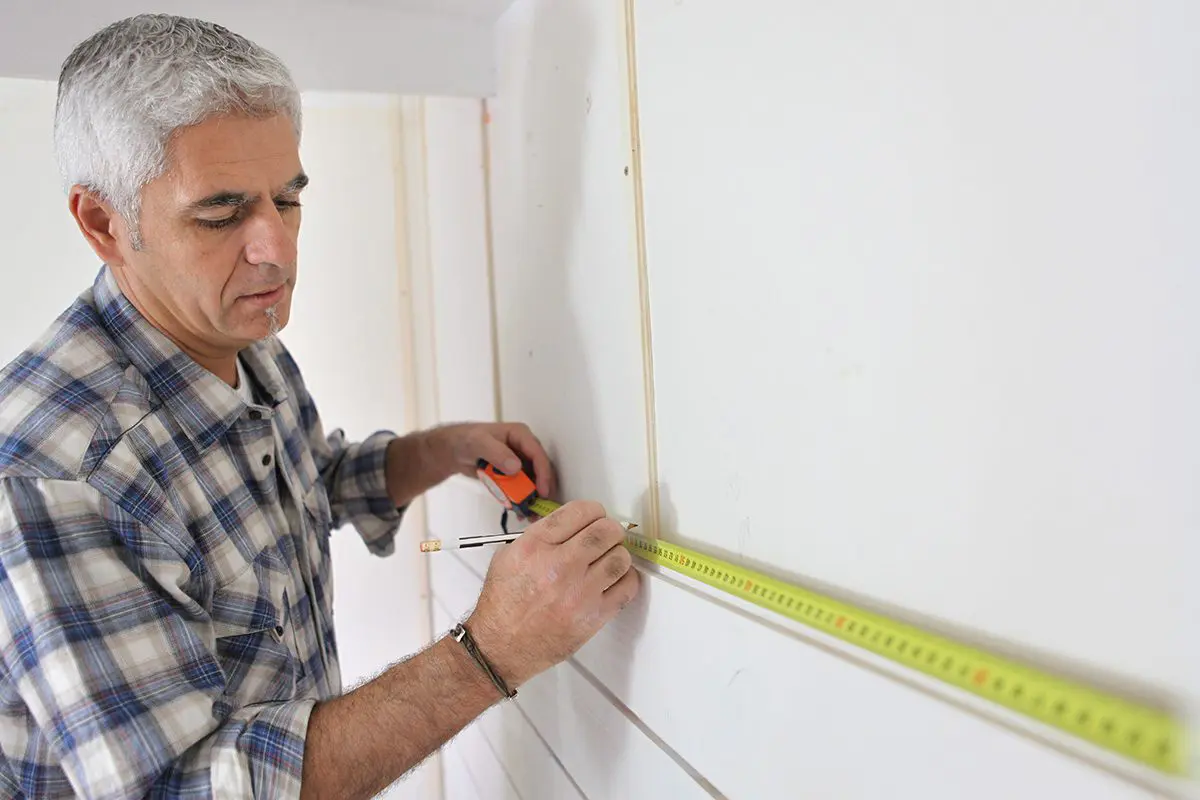
Start in any corner of the kitchen and hold your tape measure at waist height (about 36" off the floor). Measure straight across to the adjacent wall or corner, then work your way around the room measuring every wall where cabinets will be installed.
Sketch a rough bird’s-eye floor plan of the room and label each wall’s total length (for example: Wall #1 = 116", Wall #2 = 192", Wall #3 = 116").
Step 2: Measure All Windows, Doors & Wall Openings (Include the Trim!)
Measure every window, doorway, and cased opening in the kitchen. Always measure from the outside edge of the molding/trim to the outside edge of the trim—not just the glass or the door slab. Trim is part of the opening because cabinets cannot overlap window or door casing.
- For each Window: Record A (floor to bottom of trim), B (bottom of trim to top of trim), and C (total width including outer trim on both sides).
- For each Door / Pass-Through: Record A (floor to top of trim) and B (total width including outer trim on both sides).
Step 3: Place Openings on Your Floor Plan & Check Your Math
On your floor plan sketch, locate each window and doorway along its wall by measuring in three segments:
- Corner of wall → outside edge of opening trim
- Width of opening (outside edge of trim to outside edge of trim)
- Outside edge of trim → next corner or opening
Double-check your math: Add the individual segments on each wall together—they must equal the overall wall measurement from Step 1 (for example, 38" + 40" + 38" = 116"). Also draw an arc showing which direction each door swings!
Step 4: Record Ceiling Height, Soffits & Flooring
Measure from the finished floor to the ceiling in at least two spots (older floors and ceilings are rarely perfectly level). Note whether your ceiling is straight, vaulted, or has a soffit/bulkhead (and whether the soffit will stay or be removed).
Your ceiling height directly determines which standard RTA wall cabinet height fits best:
- 8-foot ceiling (96"): Usually takes 30" wall cabinets (with a soffit or tall crown) or 36" wall cabinets (with room for crown molding).
- 9-foot ceiling (108"): Ideal for 42" wall cabinets, or 36" wall cabinets with stacked 12" top cabinets.
- Flooring: Note whether you are keeping your current floor or replacing it, since new tile or hardwood can change finished floor-to-ceiling height by 1/2" to 3/4".
Step 5: Sketch Wall Elevations & Mark Utility Centerlines
Draw a simple front-facing rectangle for each wall (an elevation) and mark the centerline of every utility from the nearest corner and from the floor:
- Plumbing: Water supply lines and sink drain centerline (especially if you are keeping the sink in the same spot).
- Gas & 220V Electrical: Range/cooktop gas line, wall oven 220V outlet, and range hood ducting/exhaust location.
- Obstructions: Radiators, vents, light switches, thermostats, or beams that cabinets must work around.
Step 6: List Exact Appliance & Sink Dimensions (Include Model Numbers)
Never guess appliance widths—a 1/2" surprise on a refrigerator or slide-in range can stall an entire install. List the exact width, depth, height, brand, and model number for every appliance:
- Refrigerator: Standard widths are 30", 33", or 36" (be sure to check door-swing clearance next to a wall!).
- Range / Cooktop & Range Hood: Standard widths are 30" or 36" (check whether your hood is vented or recirculating).
- Dishwasher: Standard opening is 24" wide (usually placed right next to the sink base with a dishwasher end panel if at the end of a run).
- Microwave, Wall Oven & Sink: Note whether your microwave is over-the-range, built-in, or countertop, and whether your sink is standard drop-in/undermount or a farmhouse/apron-front sink.
Step 7: Write Down Your Must-Have Features & Door Style
Make a quick wish list of any specialty cabinets or accessories you want included in your layout: lazy Susan corner cabinets, pull-out double trash cans, roll-out trays, deep pot-and-pan drawer bases, a center island, crown molding, light rail, or tall pantry cabinets.
Not sure which finish looks best in your room’s lighting? Order $20 sample doors across our 107 all-wood RTA styles so you can see the real color and wood grain next to your countertops and flooring before ordering.
Step 8: Take Photos & Choose How You Want to Order
Snap clear photos of every wall in your current kitchen from multiple angles. Once your Measuring Guide PDF is complete, you have two simple, transparent ways to move forward with The RTA Shop:
Option 1: Order Directly Online ($0 Design Fee)
Already know your exact cabinet SKUs and widths? Add your cabinets directly to the cart for instant wholesale-direct pricing and live LTL freight (or $0 local pickup in FL, NC, NJ & CA).
Shop All RTA Cabinets →Option 2: Professional Kitchen Design Service
Want an experienced, NKBA-certified kitchen designer to turn your measurements into complete 2020 CAD floor plans, wall elevations, 3D renderings, and a verified itemized parts list?
View Kitchen Design Packages →